High-quality photos of the car are always a matter of pride for its owner. Unfortunately, only professional photographers are able to reach the same level as in glossy magazines. However, everything is not so bad, if you follow some recommendations, then it will be possible to come as close to the desired result.
Today's cameras, even from the budget price segment are equipped with useful features that can significantly improve the quality of images, and at the same time to use filters with a number of necessary effects. This is why it has never been easier than it is today to take great photos. Dear friends, here are ten (10) basic rules that, regardless of your skill level or the price of the camera, will let you get as close as possible to a professional level of shooting.
1. Composition
Composition is a very important issue for car photographers as the car is the key aspect of the frame and needs to be positioned in the most advantageous visual position. The basic rule for good composition is the so-called rule of thirds, which is to visually divide the image into three vertical sections and three horizontal sections, so as to have nine rectangular areas with the car or the main part of it occupying the center. Be creative with the placement of the car in the frame, it doesn't always have to be in the lower left or right corners. Sometimes, even by tilting the camera at a slight angle, you can make the car in the photo much more aggressive and threatening. Basics about composition read here.
2. Reflections
Quite often you can distinguish professional photos from amateur ones by the reflections on the side panels of the body, so when choosing the place for the picture take into consideration that modern metallic painting can play the role of a kind of mirror and reflect the unsightly side of the landscape. If the car looks visually unimportant, it will be very difficult to get a good picture.
Fortunately, modern cameras have long been equipped with special polarizers, which can reduce all these glare, remove the reflection of various objects and make a good, clean and clear picture.
3. Lighting
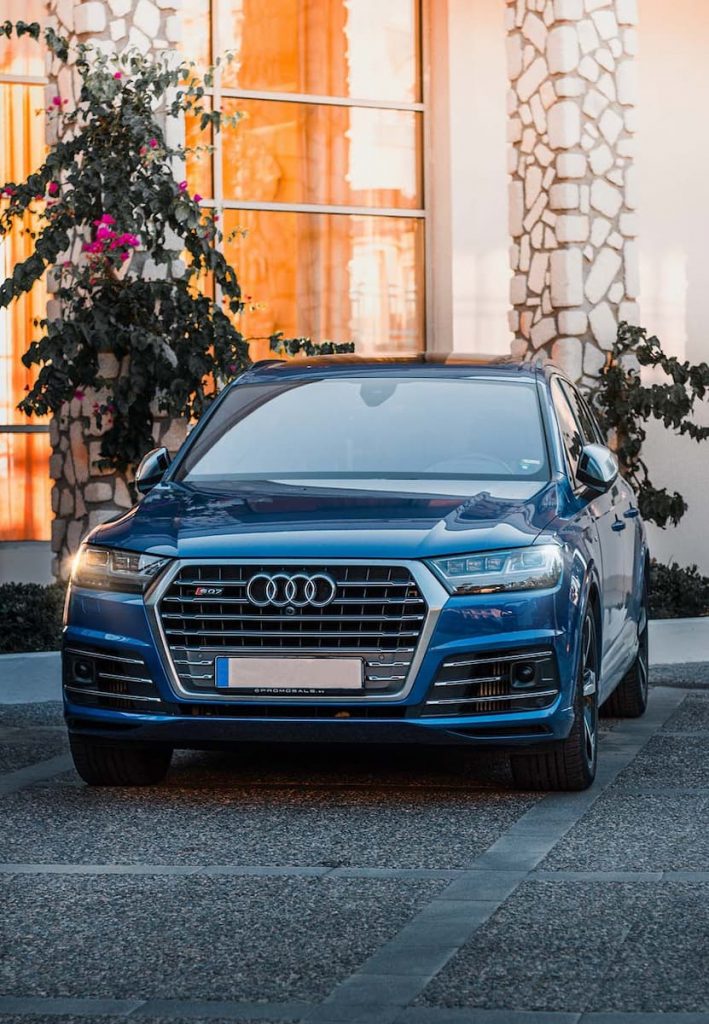
Lighting is one of the key moments that determine the quality and level of a photo. Shooting under natural light is the basic level where any photographer determines the best angles for the car, as well as how the car will look at certain angles of light. In order to show the car as a whole, without focusing on individual elements, overcast weather is best, which also allows you to independently determine the illumination of the body panels when using artificial light sources.
If you need to get pictures with sunlight, then the best time is an hour after sunrise, as well as an hour before sunset - this is the most advantageous moment, which professional photographers call the "golden hour".
4. Backgrounds
Before you get started with your shoot, you need to choose the right location where your car will look the best. For example, a Bentley on a muddy country road will look just as out of place as a Land Cruiser on a narrow street in the city. So the background is not just a background, it has to complement the image of the car.
Particular attention should be paid to details of street furniture, the ignoring or improper use of which can make a photo somewhat ridiculous. For instance, the most common mistake made by beginner photographers is to place the car with the street lights behind it and making it look like it's sticking out of the roof.
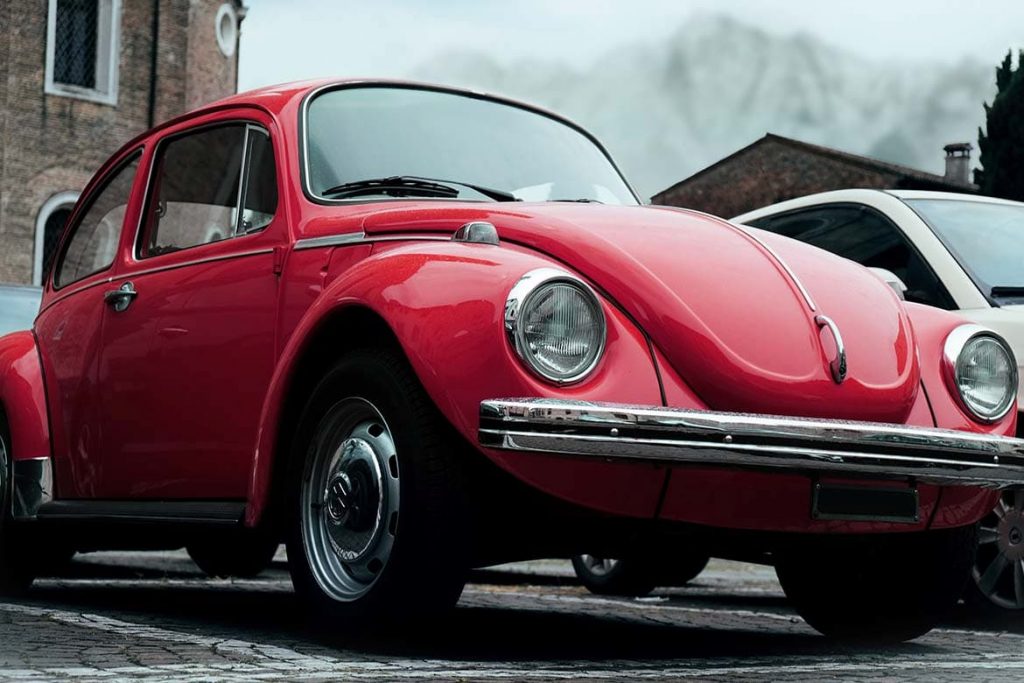
5. Depth of Focus
The car is the main character in the picture, and by adjusting the aperture position you can make the secondary details in the background become less emphasized. From an amateur's point of view, this adjustment allows you to get the sharpness of the car itself and some blurring of the background. However it is not a hard rule for taking pictures, because presence of several cars in the frame automatically defines the necessity of increasing the depth of shot.
6. Movement
Shooting a car while driving is the most spectacular and at the same time quite difficult. As a rule, panning or tracking an object in the frame is used to achieve certain effects. The most effective method is to blur secondary details by setting the shutter speed to low (1/40 to 1/125 of a second) and continuously focusing on the moving object. The second method produces the most effective pictures when the shutter speed is fixed at 1/50th of a second. The driver should maintain a steady speed while doing this, and the photographer should take as many shots as possible until the effect of the moving object is achieved.
7. Study the Vehicle
Before searching for the most advantageous camera angles, go around the car yourself, find out for yourself from which positions and angles it looks the most advantageous, as this visual perception will be transferred to the photos you take afterwards. Read here about 35 inch tire size.
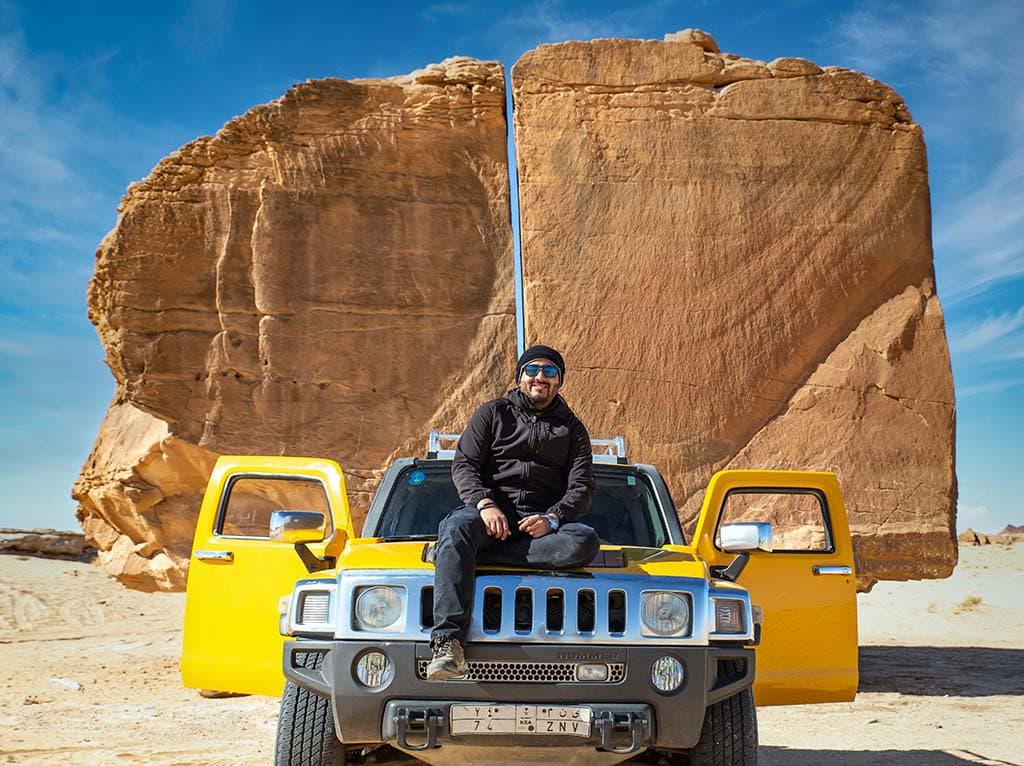
8. Viewpoint and Angle
Try not to take pictures of the car standing up from your eye level, as the most spectacular photographs may be taken from a sitting or even lying down position. Try to use the relief of the terrain, if possible, drive the car on a hill, and also try to take pictures at an angle, that will add dynamics to them.
9. Night Shooting
Shooting in low light conditions is quite a complicated process which will require a good tripod, allowing you to make the most of the light sensor in the camera. To get the best quality pictures, you should use a slow shutter speed, from 4 to 15 seconds. This allows you to get the effect of light tracing as the car moves smoothly past the camera.
10. Try to Experiment
During the photo shoot, try to take as many pictures as possible, which will allow you to select the most successful shots later on. Even if you are an inexperienced photographer, try to take as many shots as possible from different angles, i.e. in motion, under different lighting conditions, etc., which will provide you with the necessary skills that will come in handy later.
Before taking pictures, analyze similar shots from the Internet, in order to adopt the experience of professionals. These simple tips will significantly improve the quality of even amateur shots.